BONDING IN MINIMALLY INVASIVE REPAIR PROCEDURES

Resin composites are wonderful restorative materials: They allow for minimally invasive, defect-oriented tooth preparation, may be modelled as desired, and can be modified and repaired whenever necessary. To achieve all of this, however, a strong and long-lasting bond is an absolute requirement. The bond needs to be established either between enamel and dentin on one side and the resin composite on the other, or between the existing and the newly applied composite material.
Universal Adhesive
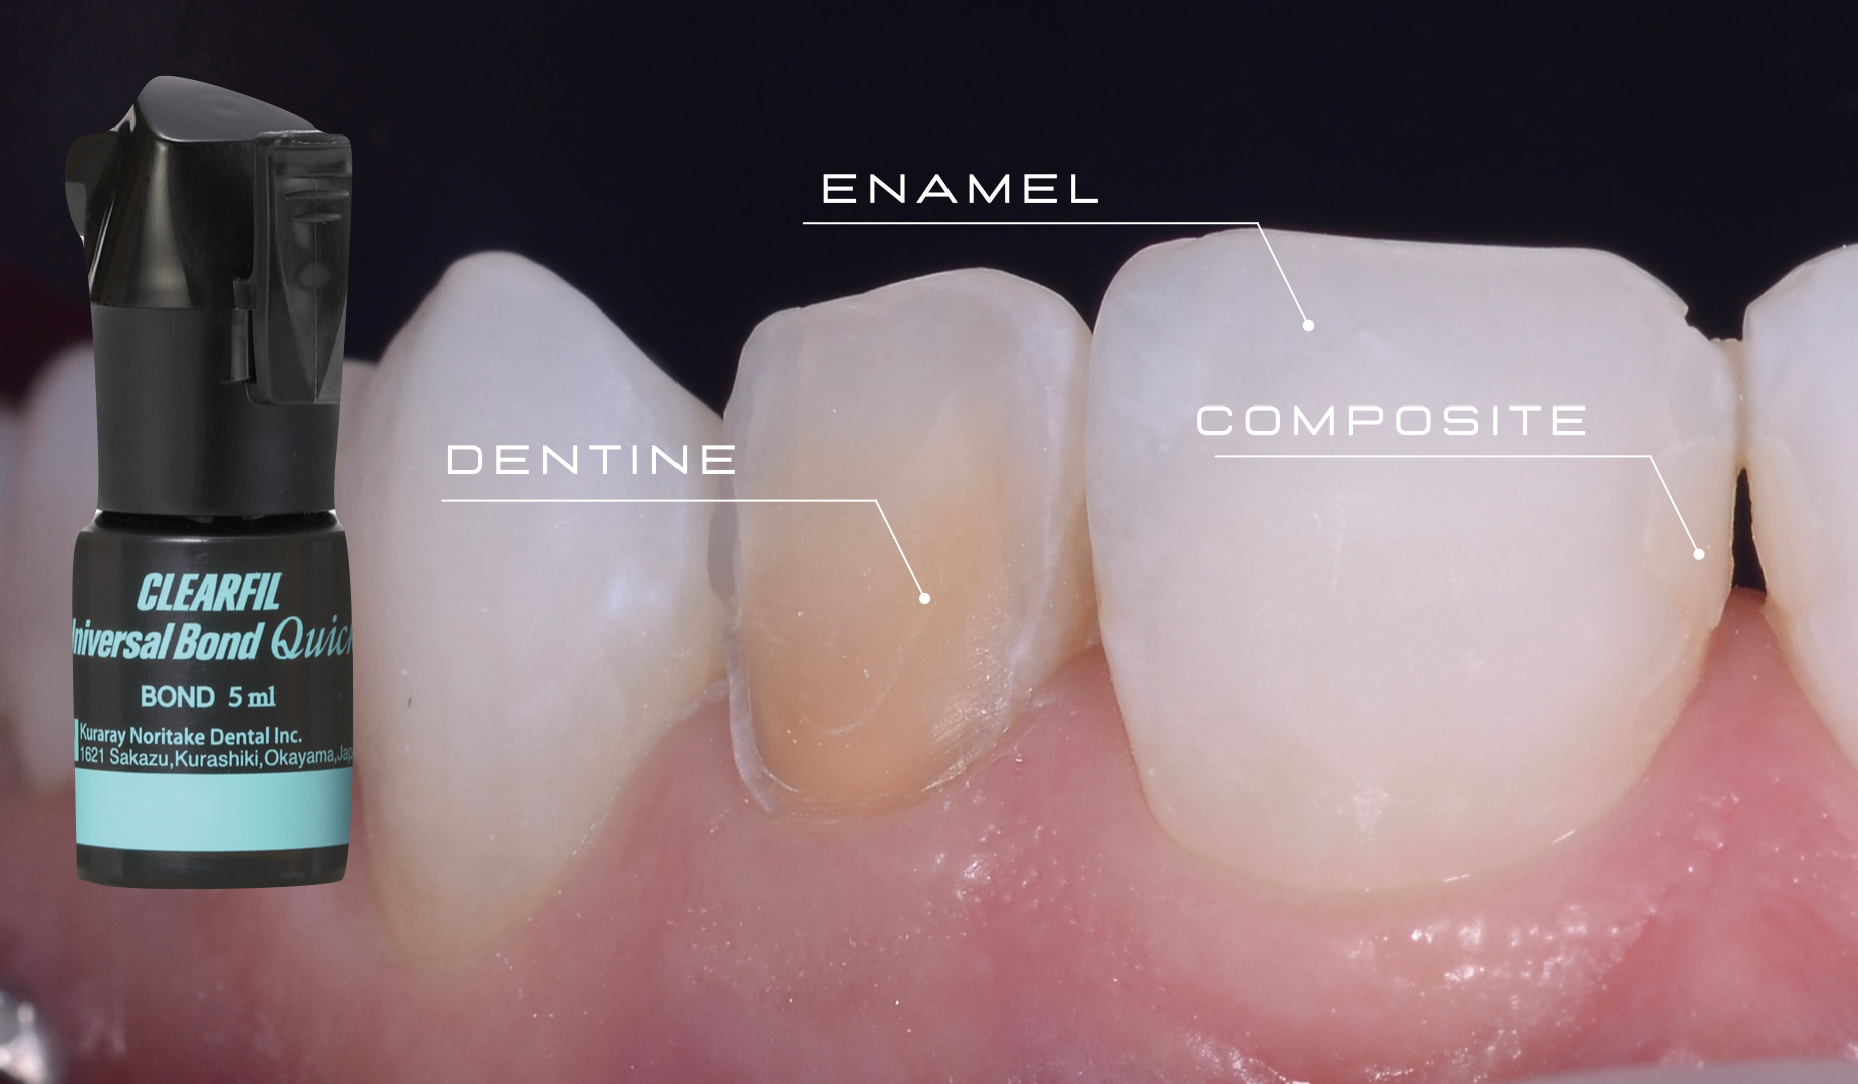
Committed to keeping clinical procedures as simple as possible, I use an 8th-generation bonding agent – CLEARFIL™ Universal Bond Quick (Kuraray Noritake Dental Inc.) in my dental office. Containing Rapid Bond Technology, it allows for a particularly easy and straightforward use without the need for extensive rubbing or long waiting times. At the same time, it bonds well to various substrates including enamel, dentin and resin composite as it contains the original MDP monomer.
Its composition and resulting versatility make CLEARFIL™ Universal Bond Quick the first choice for many indications including non- to minimally-invasive repair procedures. As it works extraordinarily well in situations where we want to bond to dentin, enamel or old composite (Fig.1), it is usually not necessary to remove the whole existing restoration that needs to be repaired or modified. Instead, preparation may be limited to the composite part, so that no additional tooth structure needs to be removed.
Clinical Protocol
Depending on the condition of the existing restoration surface, the repair protocol may be slightly different. The basic steps are as follows:
Protocol 1: Oxygen inhibition layer still on the surface
- No surface treatment required, rinse with water in case of contamination with blood or saliva, followed by air-drying and (optionally) adhesive application
- Apply new layer of composite immediately
Protocol 2: Oxygen inhibition layer already removed from the composite surface
- Remove the composite around the defect and create a bevel at the cavity margin with rotating instruments
- Sandblast the surface with aluminium oxide particles
- Fresh composite surface: Clean the surface with KATANA™ Cleaner (Kuraray Noritake Dental Inc.) or etch with phosphoric acid etchant
- Composite surface older than two weeks: Etch with phosphoric acid etchant
- Apply the universal adhesive (which contains silane)
- Apply a new layer of composite
Clinical Recommendations
1. Stay in the composite during preparation
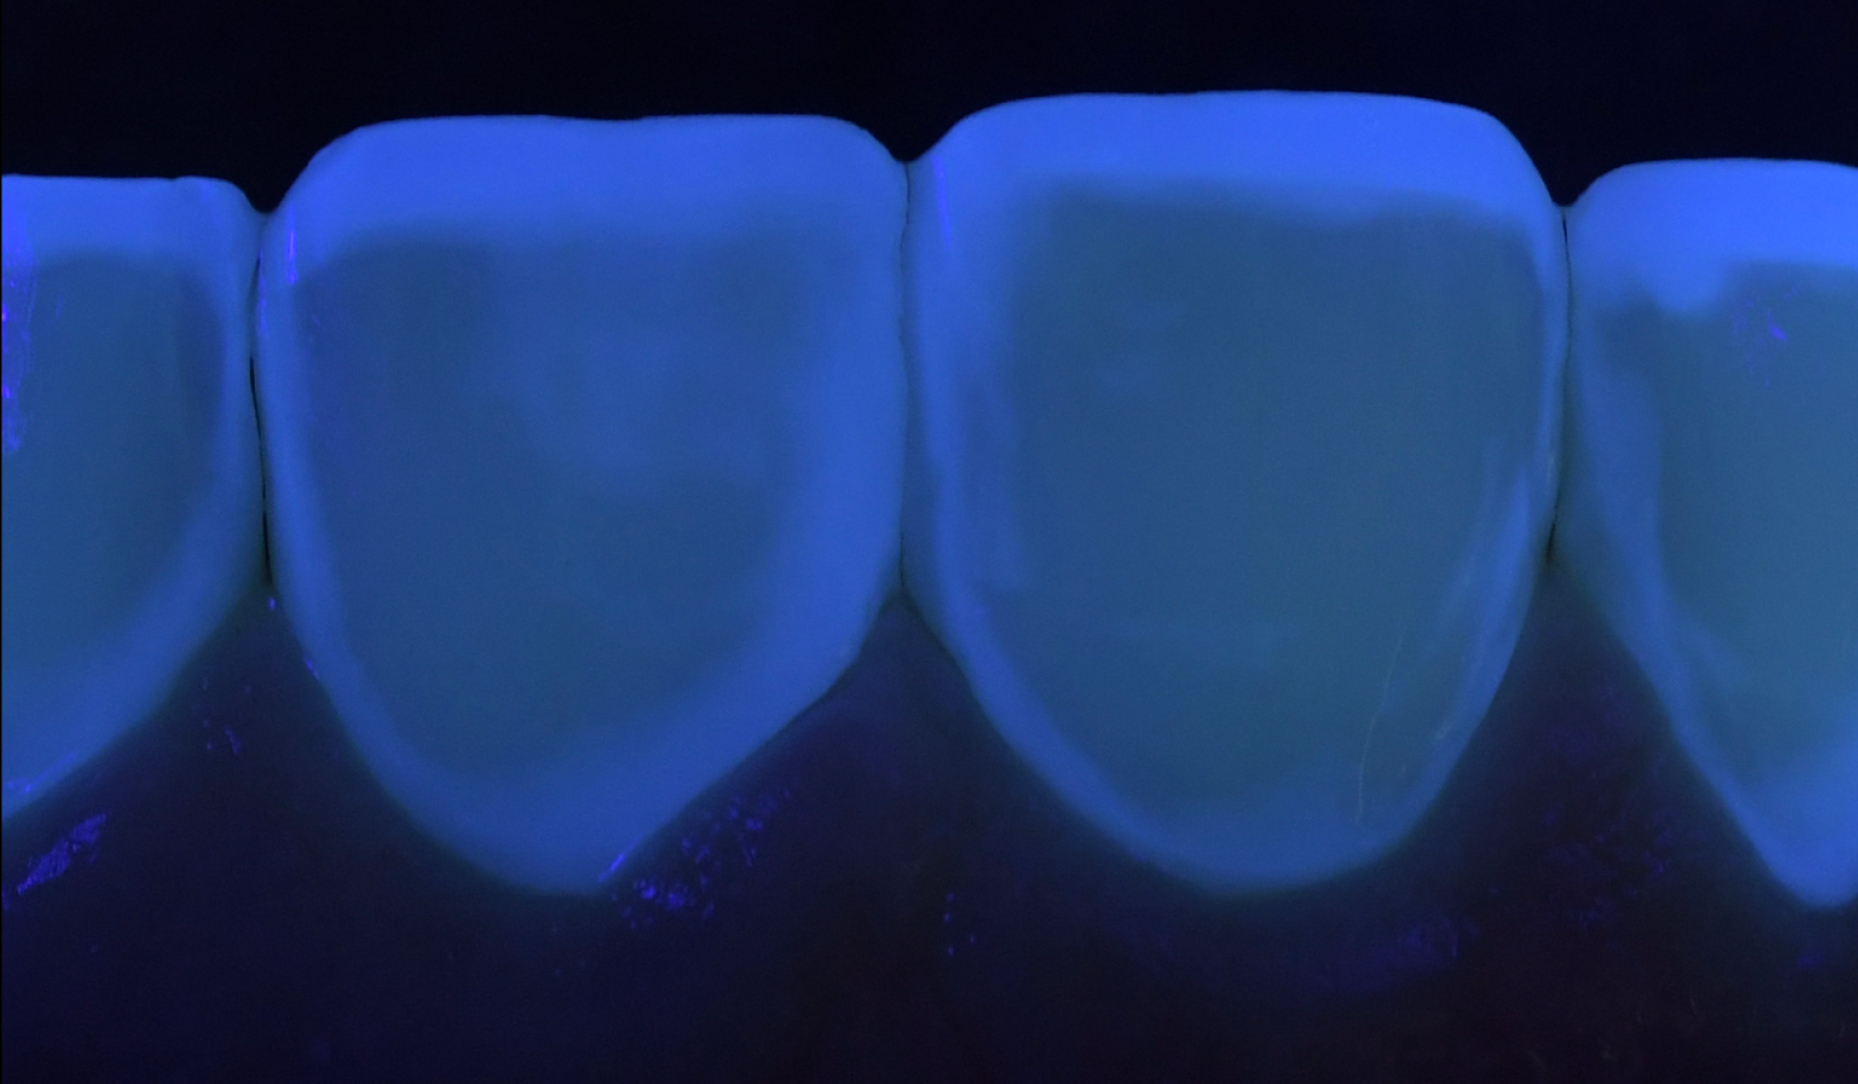
When an old composite restoration needs to be replaced – e.g. because the existing restoration shows discolouration or the patient asks for a brighter shade – it is possible to remove only a part of the composite and leave the rest in place to save the underlying healthy tooth structure. Accurate control over the amount of material removed and the amount of material left in place is offered by the use of UV light. Under UV light, the composite is perfectly visible (Fig.2). Hence, a highly conservative structure removal is supported (Fig.3).
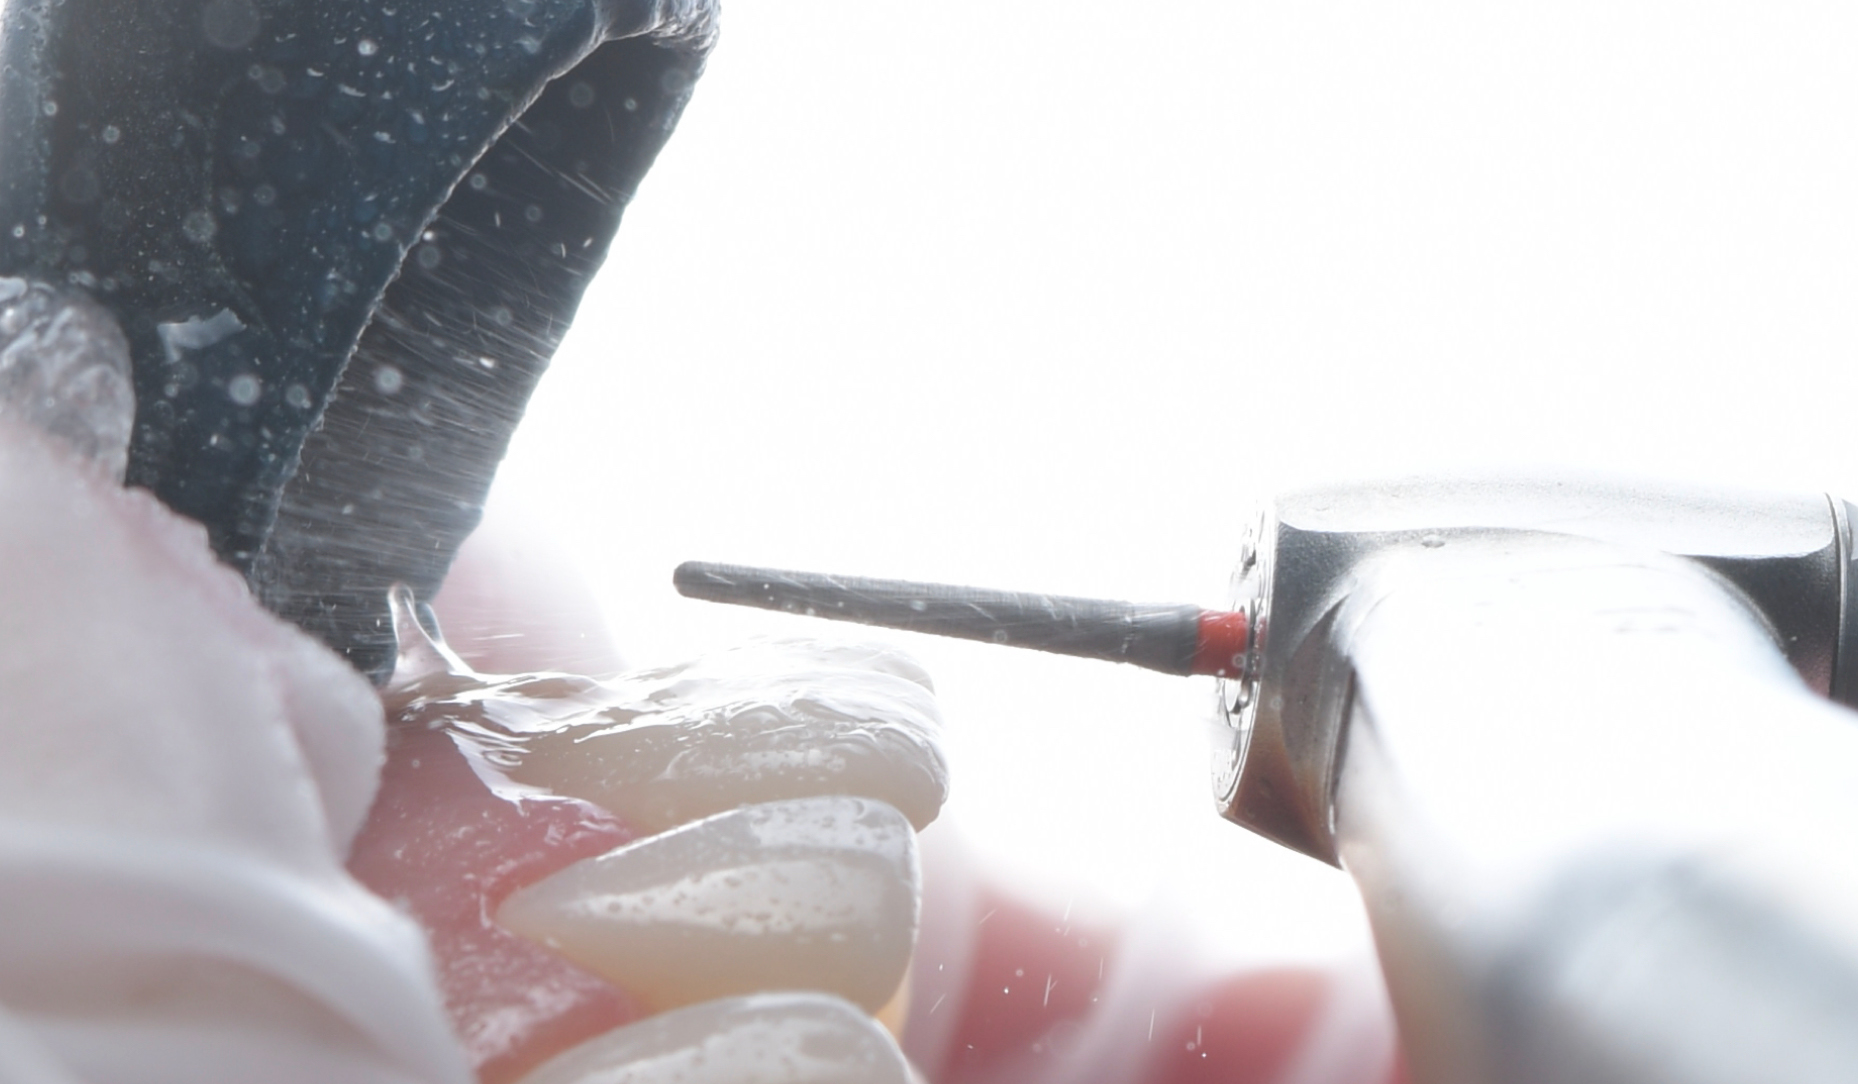
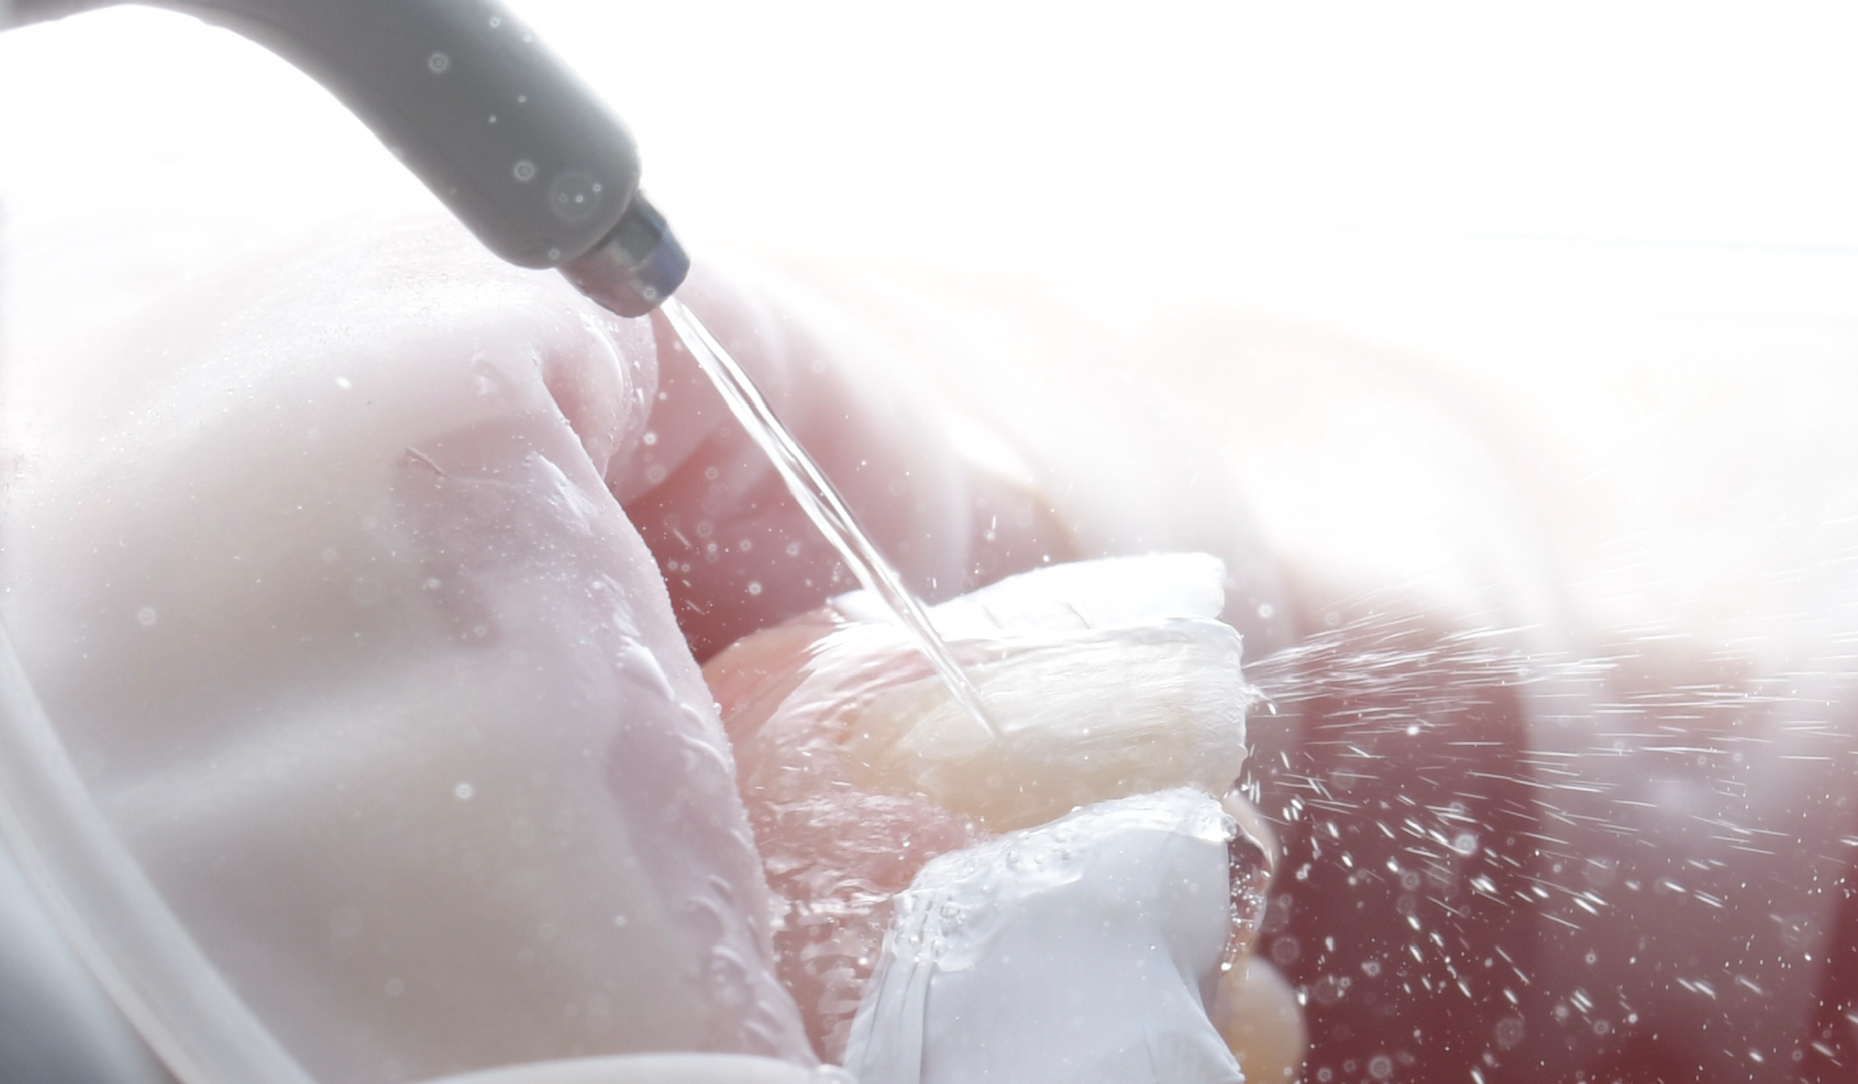
2. Increase adhesion by sandblasting
Creating a clean, micro-retentive composite surface ideal for bonding: This is the aim of sandblasting the affected composite area with aluminium oxide particles (Fig. 4). The particle size I prefer is 27 μm. Residual particles, may be removed with 37% orthophosphoric acid, which needs to be rinsed off thoroughly before air-drying the surface (Figs. 5a and 5b).
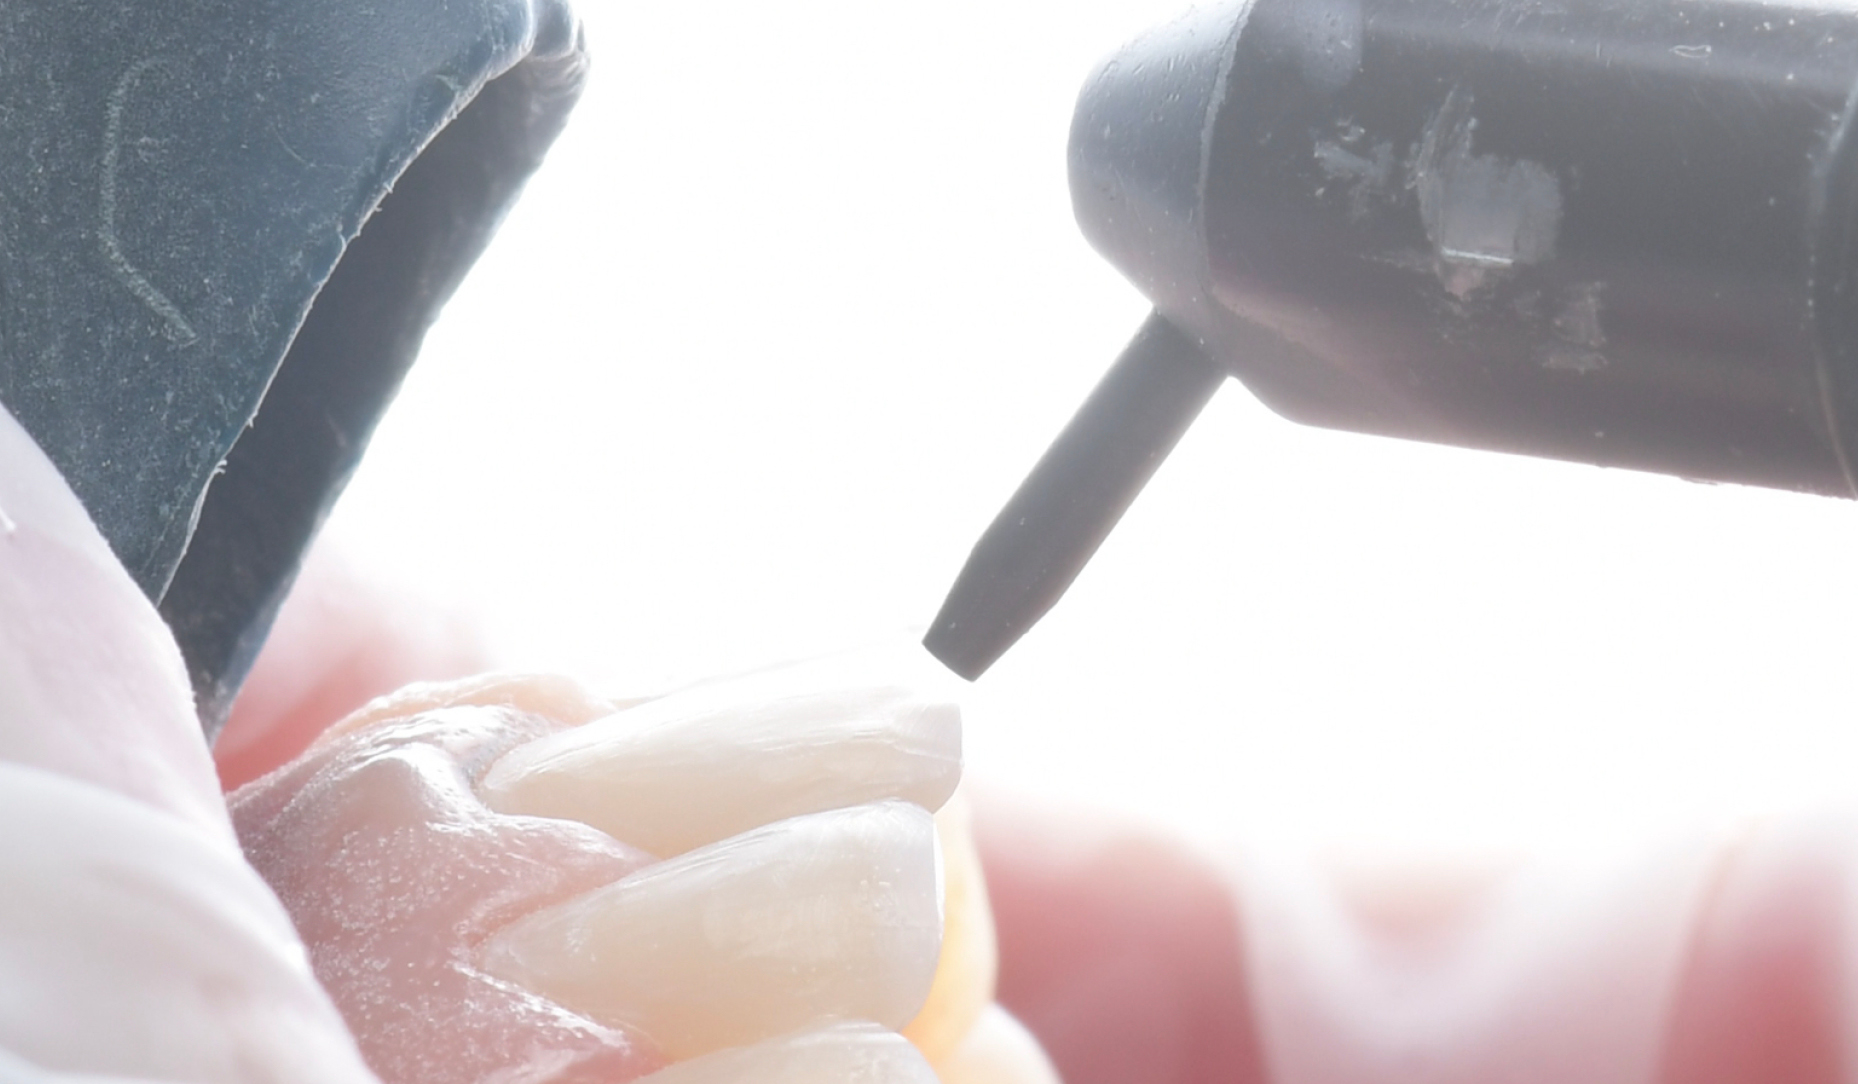
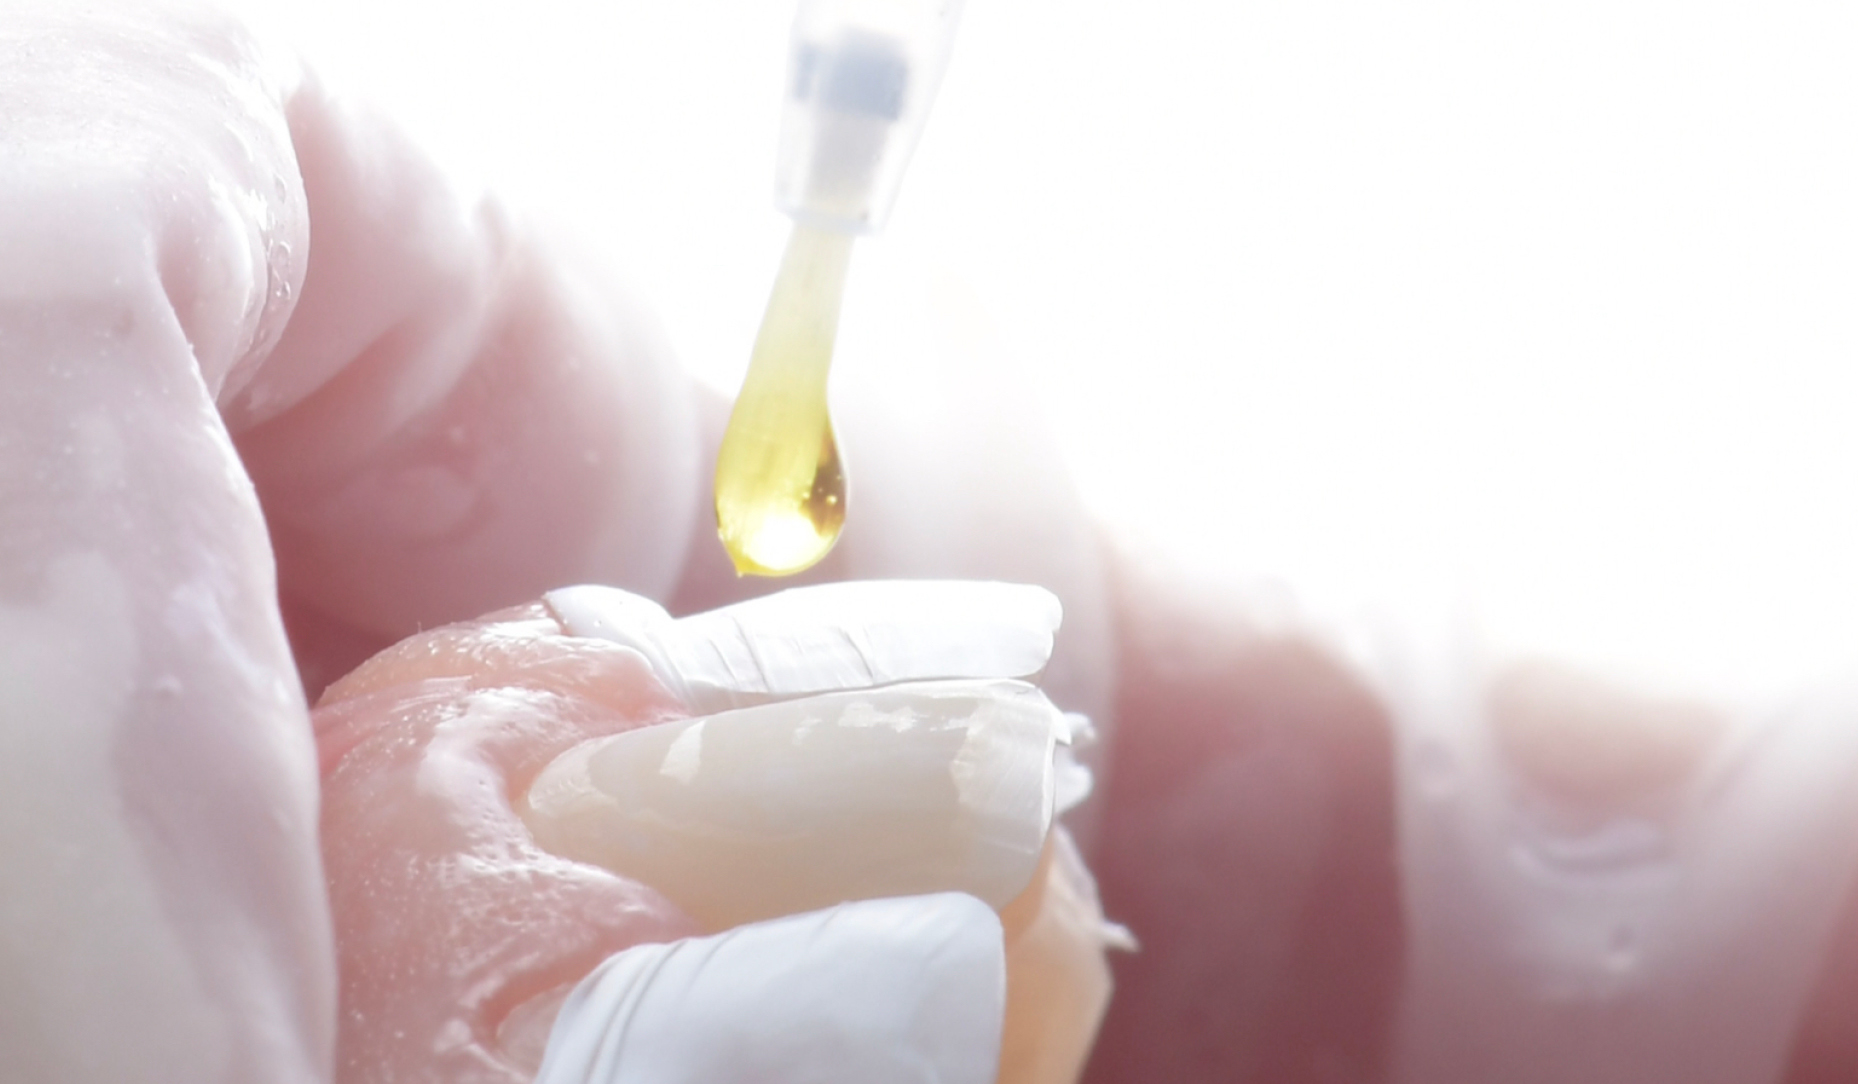
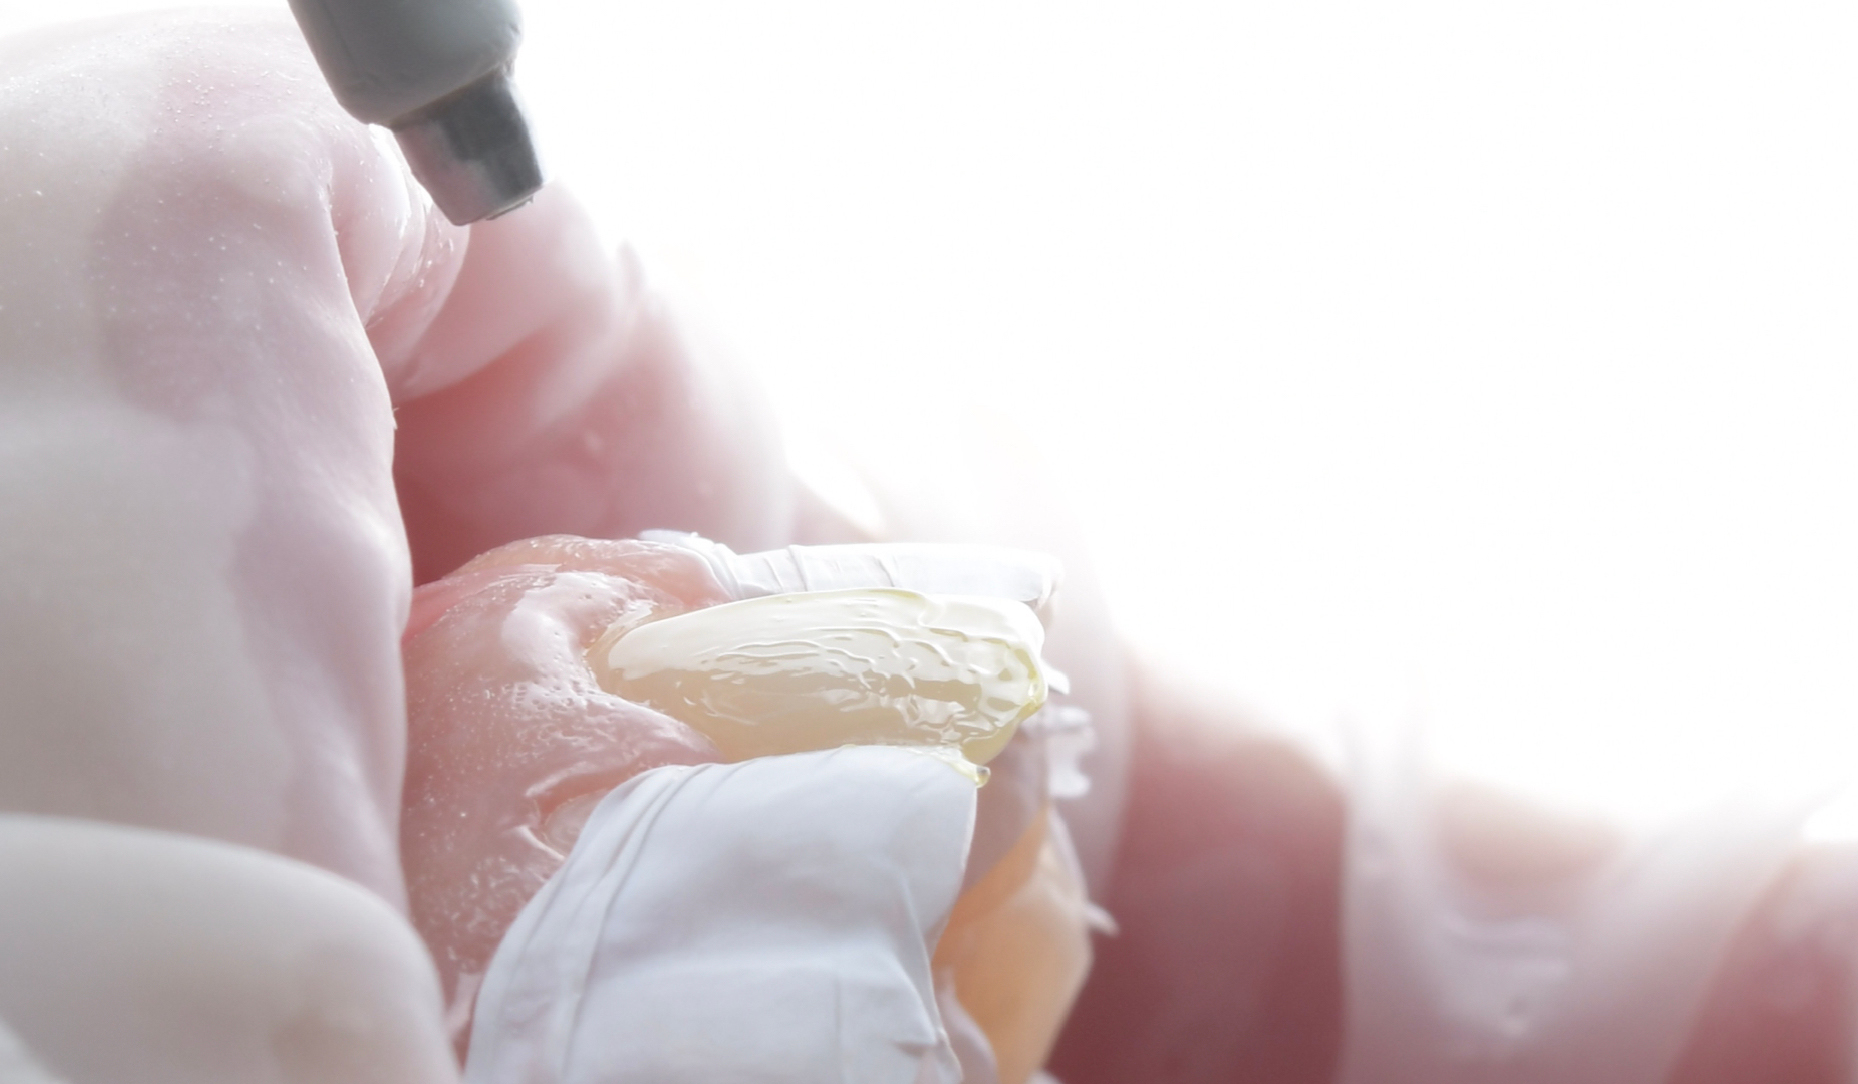
3. Use a universal adhesive that contains silane
When bonding to old composite, silanisation of the surface is recommended to increase the bond strength. On dentin, a separate silane shows no positive effect. Hence, it is recommended to apply a separate silane to the composite surface only, a challenging task in situations with a surface consisting of tooth structure and composite. As CLEARFIL™ Universal Bond Quick contains silane, the separate silane application step may be skipped, which clearly simplifies the procedure (Figs. 6a and 6b).
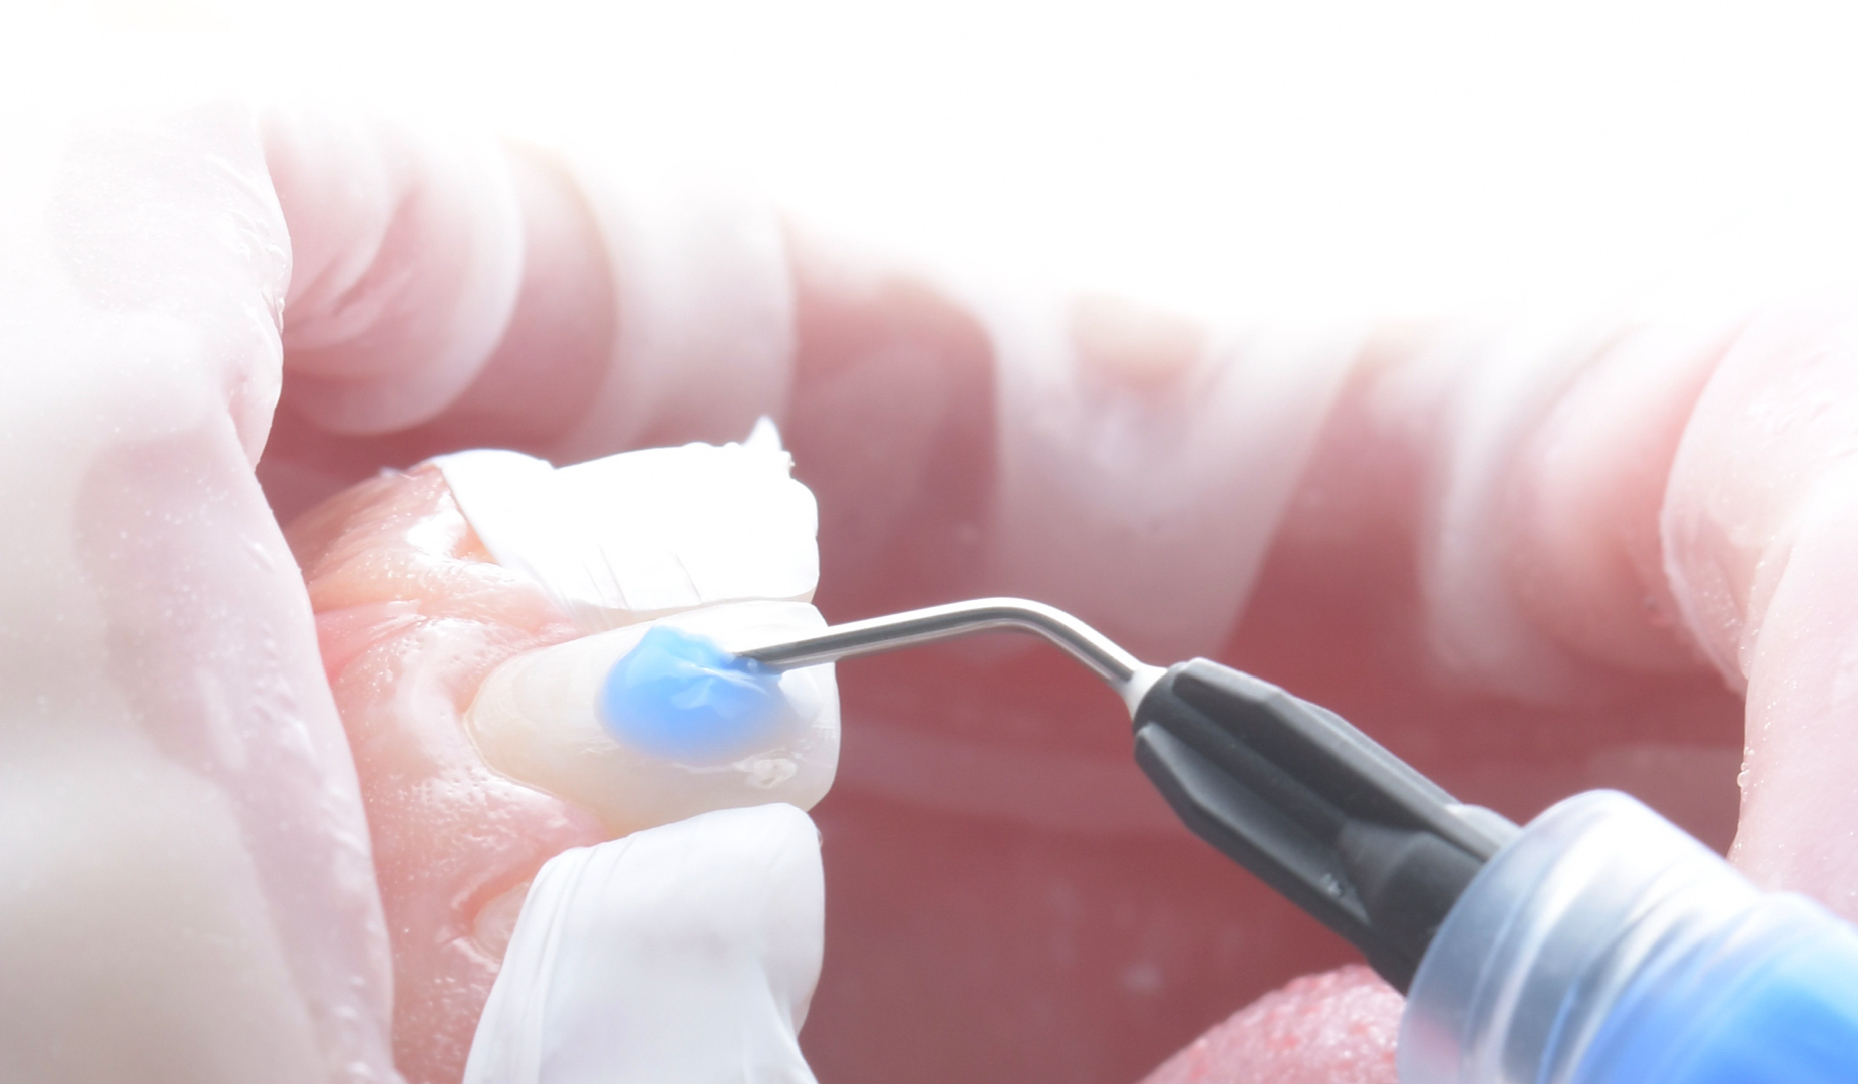
4. If in doubt, use a universal adhesive during repair procedures
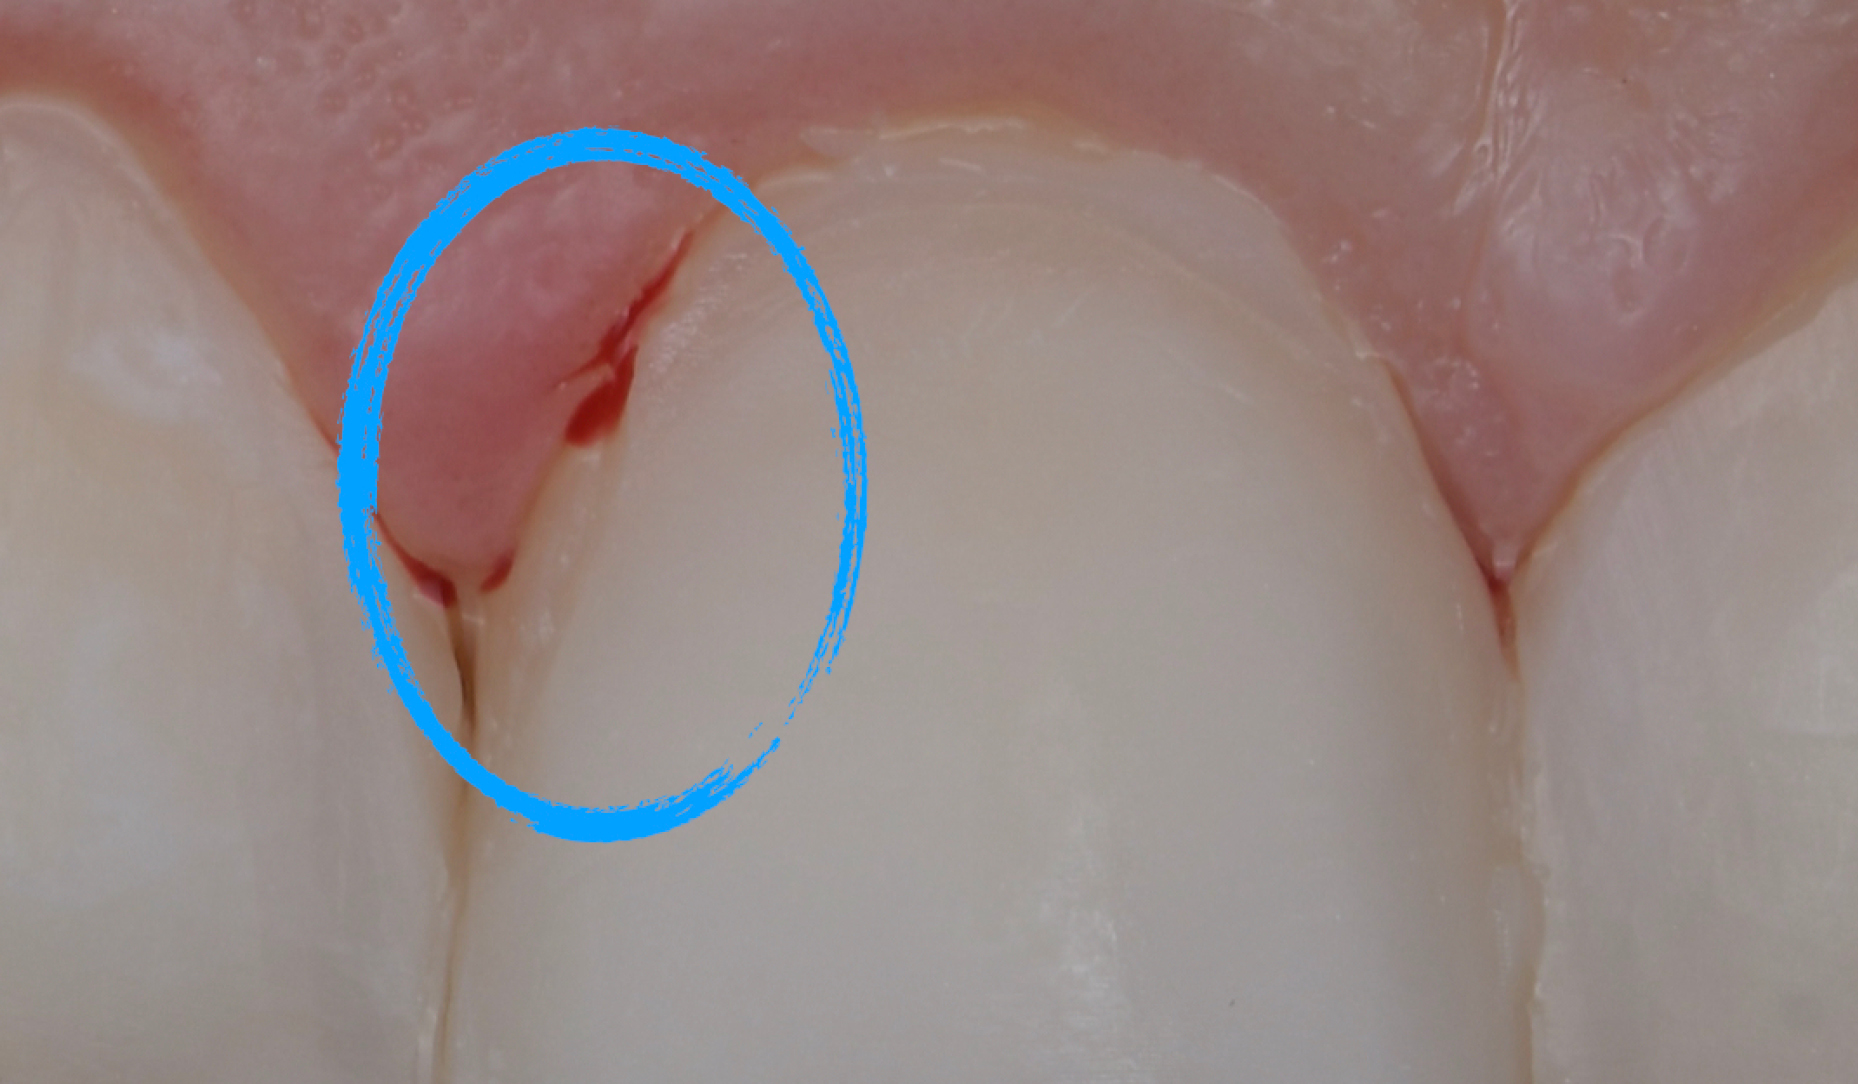
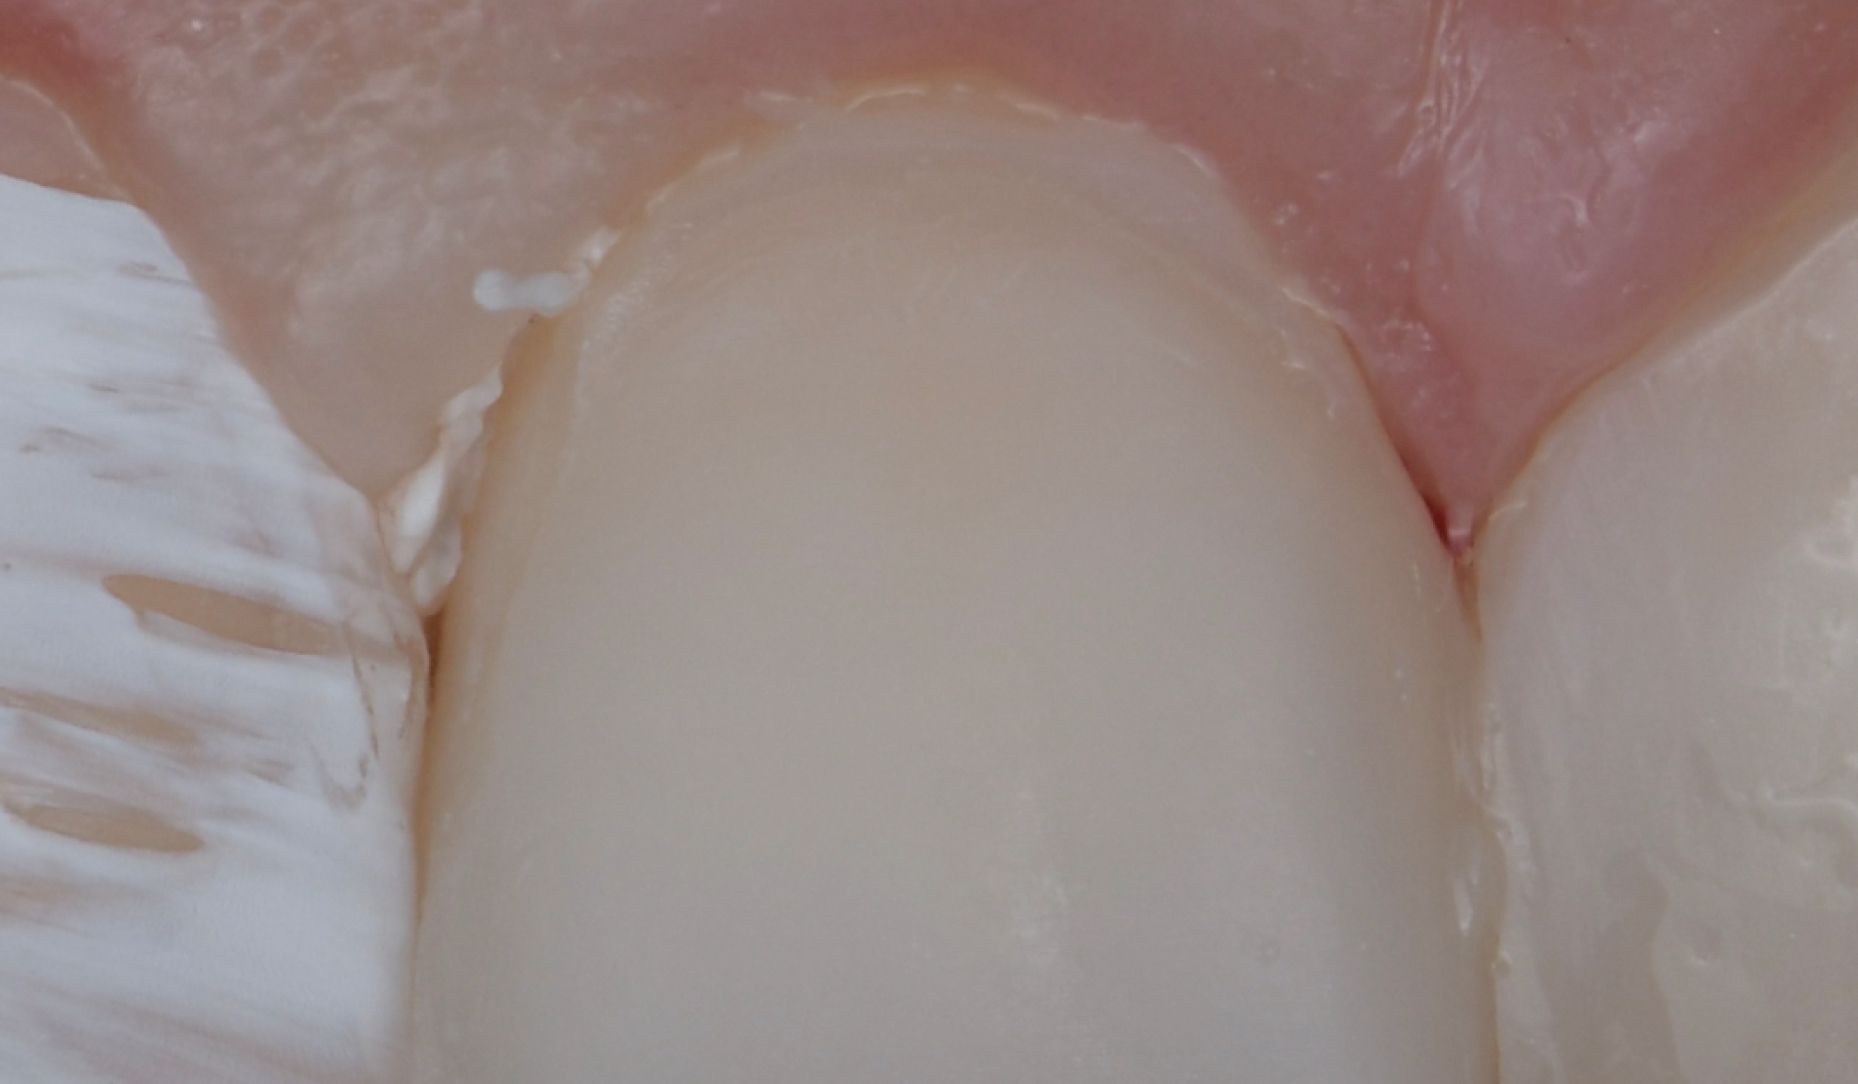
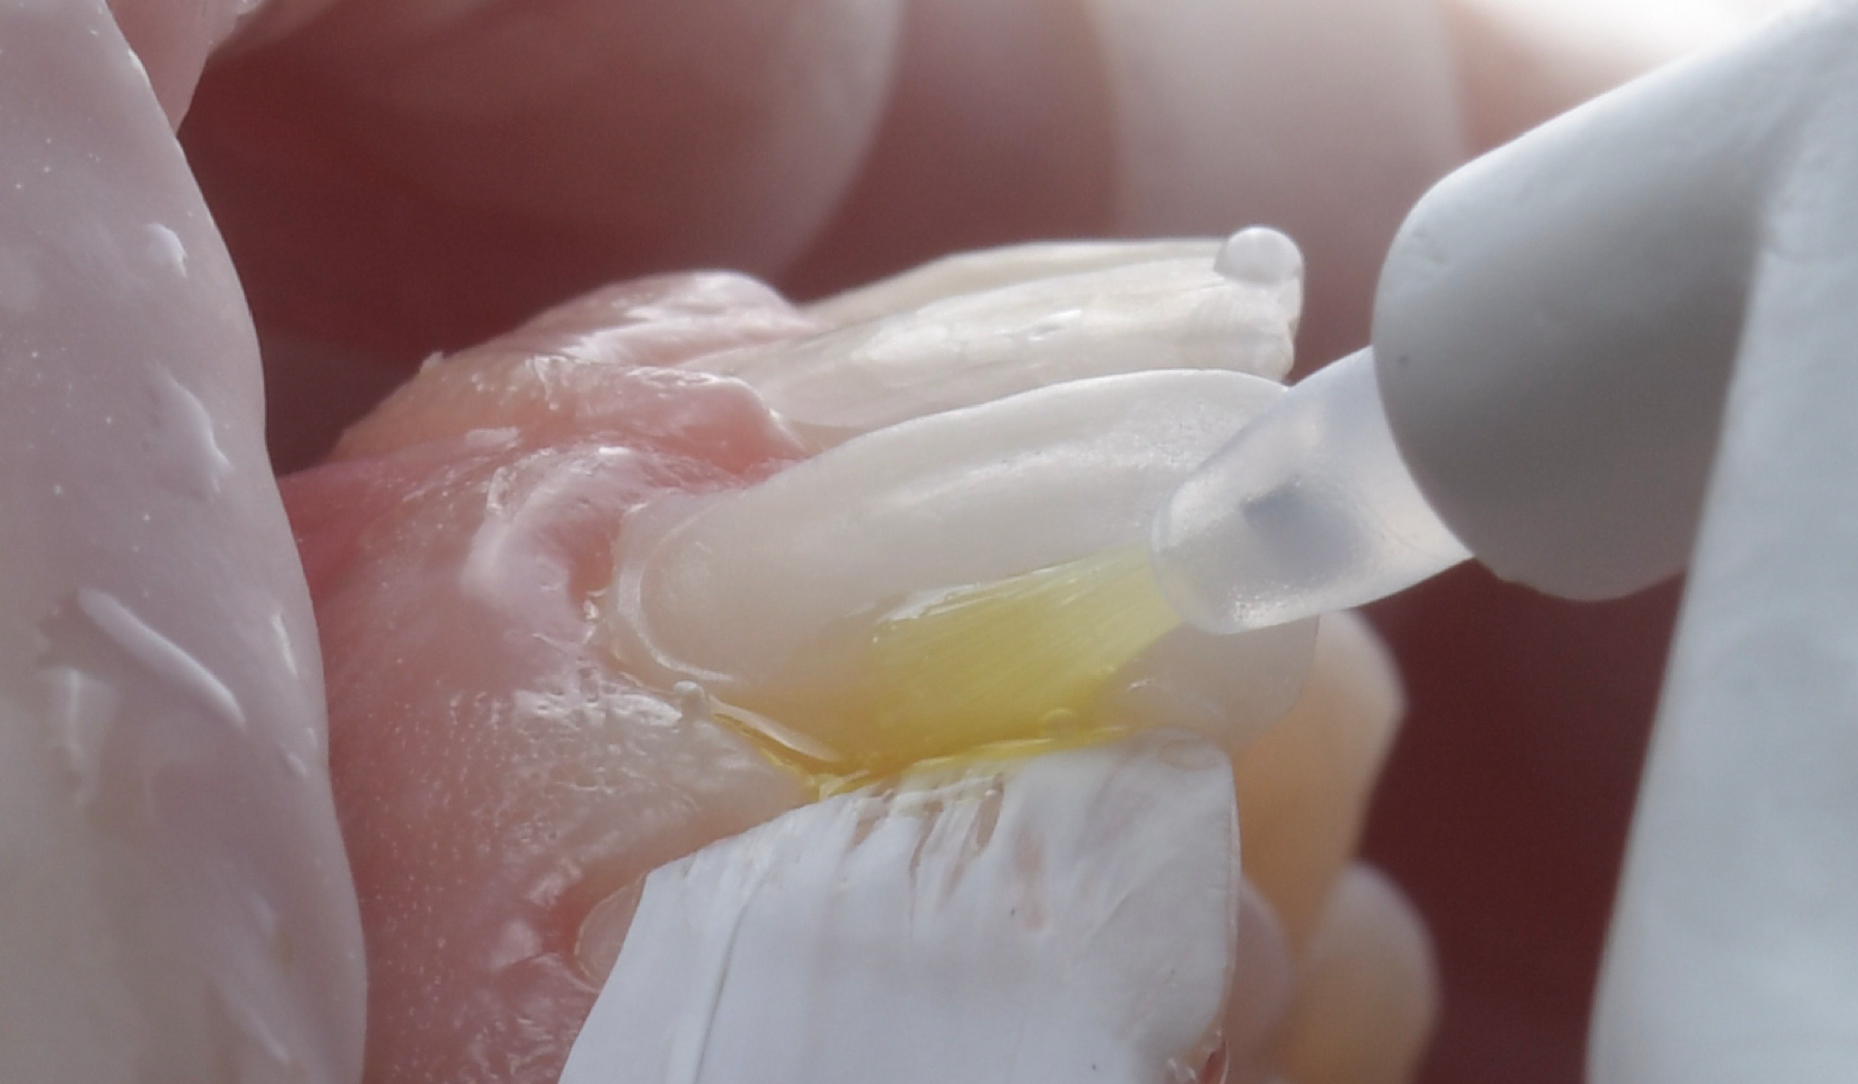
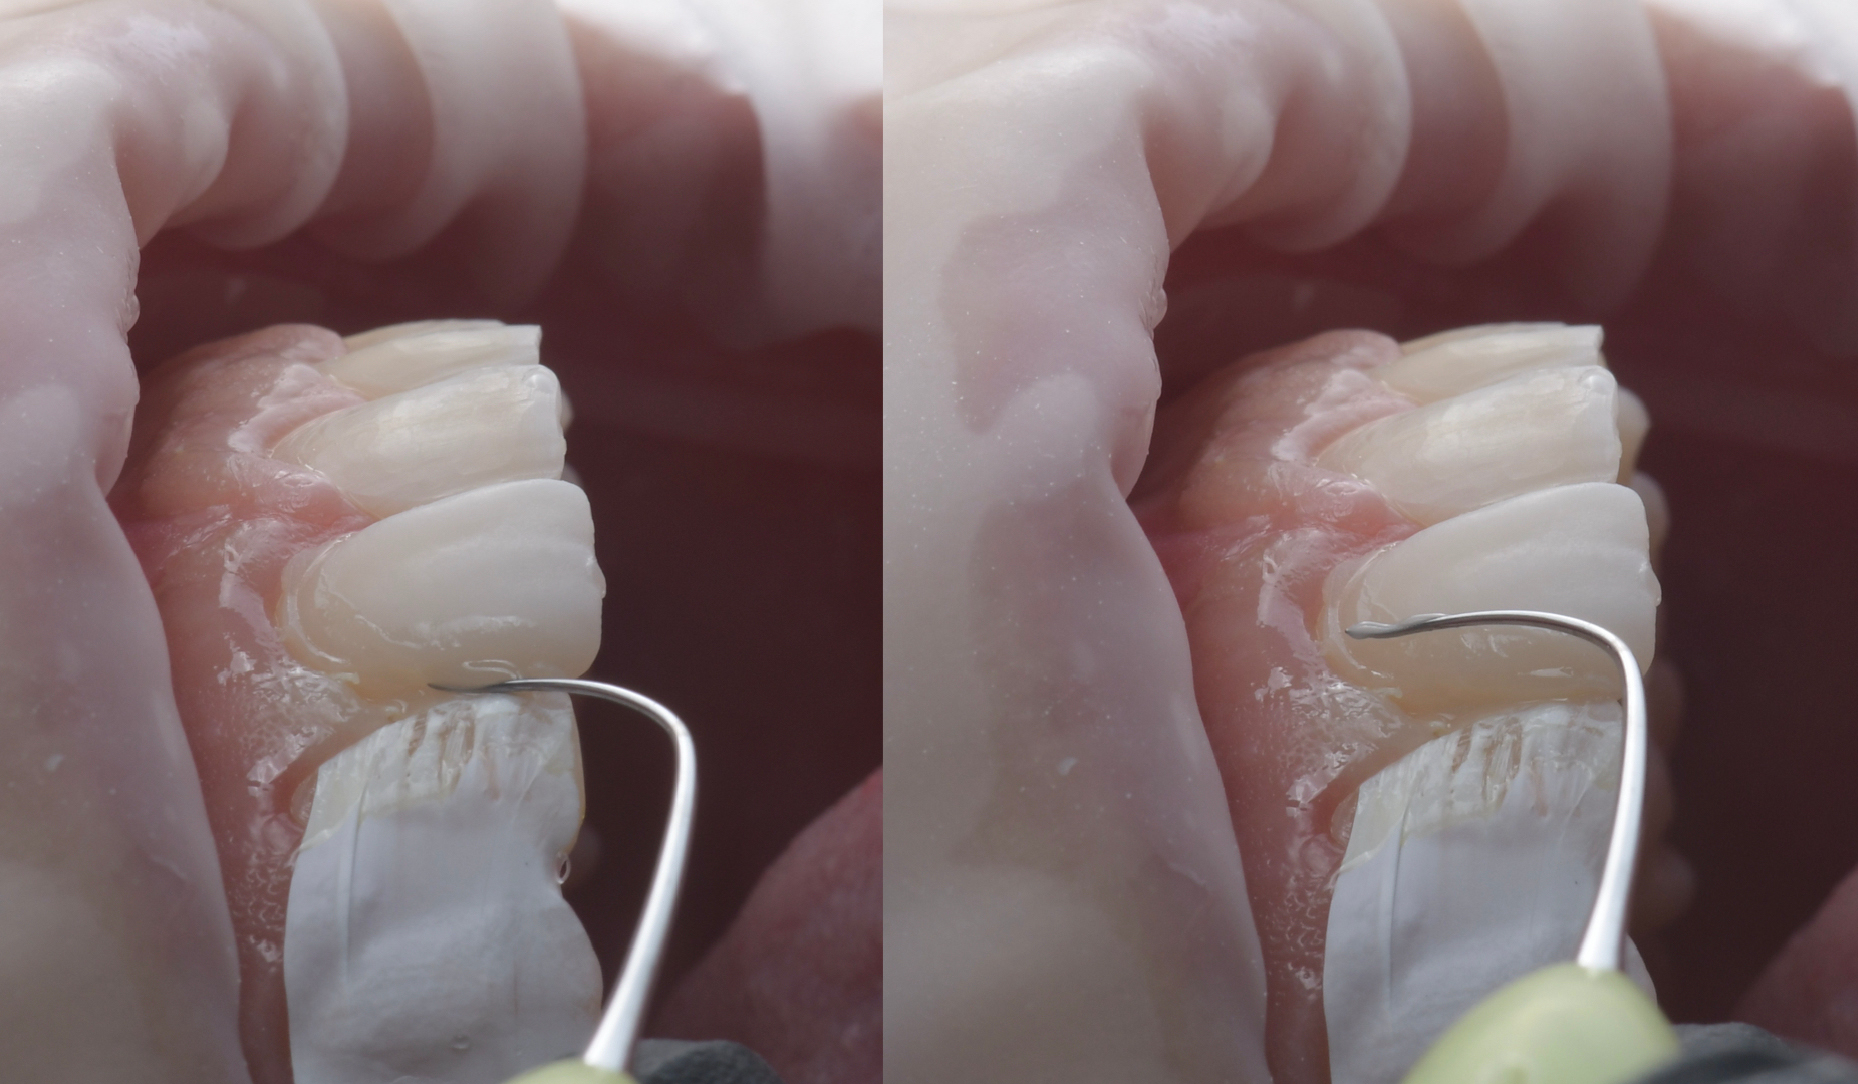
Whenever detected during restoration, defects in the composite layer or air bubbles can be repaired or eliminated right away. As long as the oxygen inhibition layer is still present, another layer of composite may be applied immediately without any prior steps. However, if the surface has been contaminated by saliva or blood (Figs. 7a and 7b) or it is unclear whether we are bonding to dentin, enamel or composite, CLEARFIL™ Universal Bond Quick may be applied (Fig. 8). On top, a new layer of composite is placed to restore the defect (Fig. 9).
5. If available, place a silicone index to simplify anatomical shaping
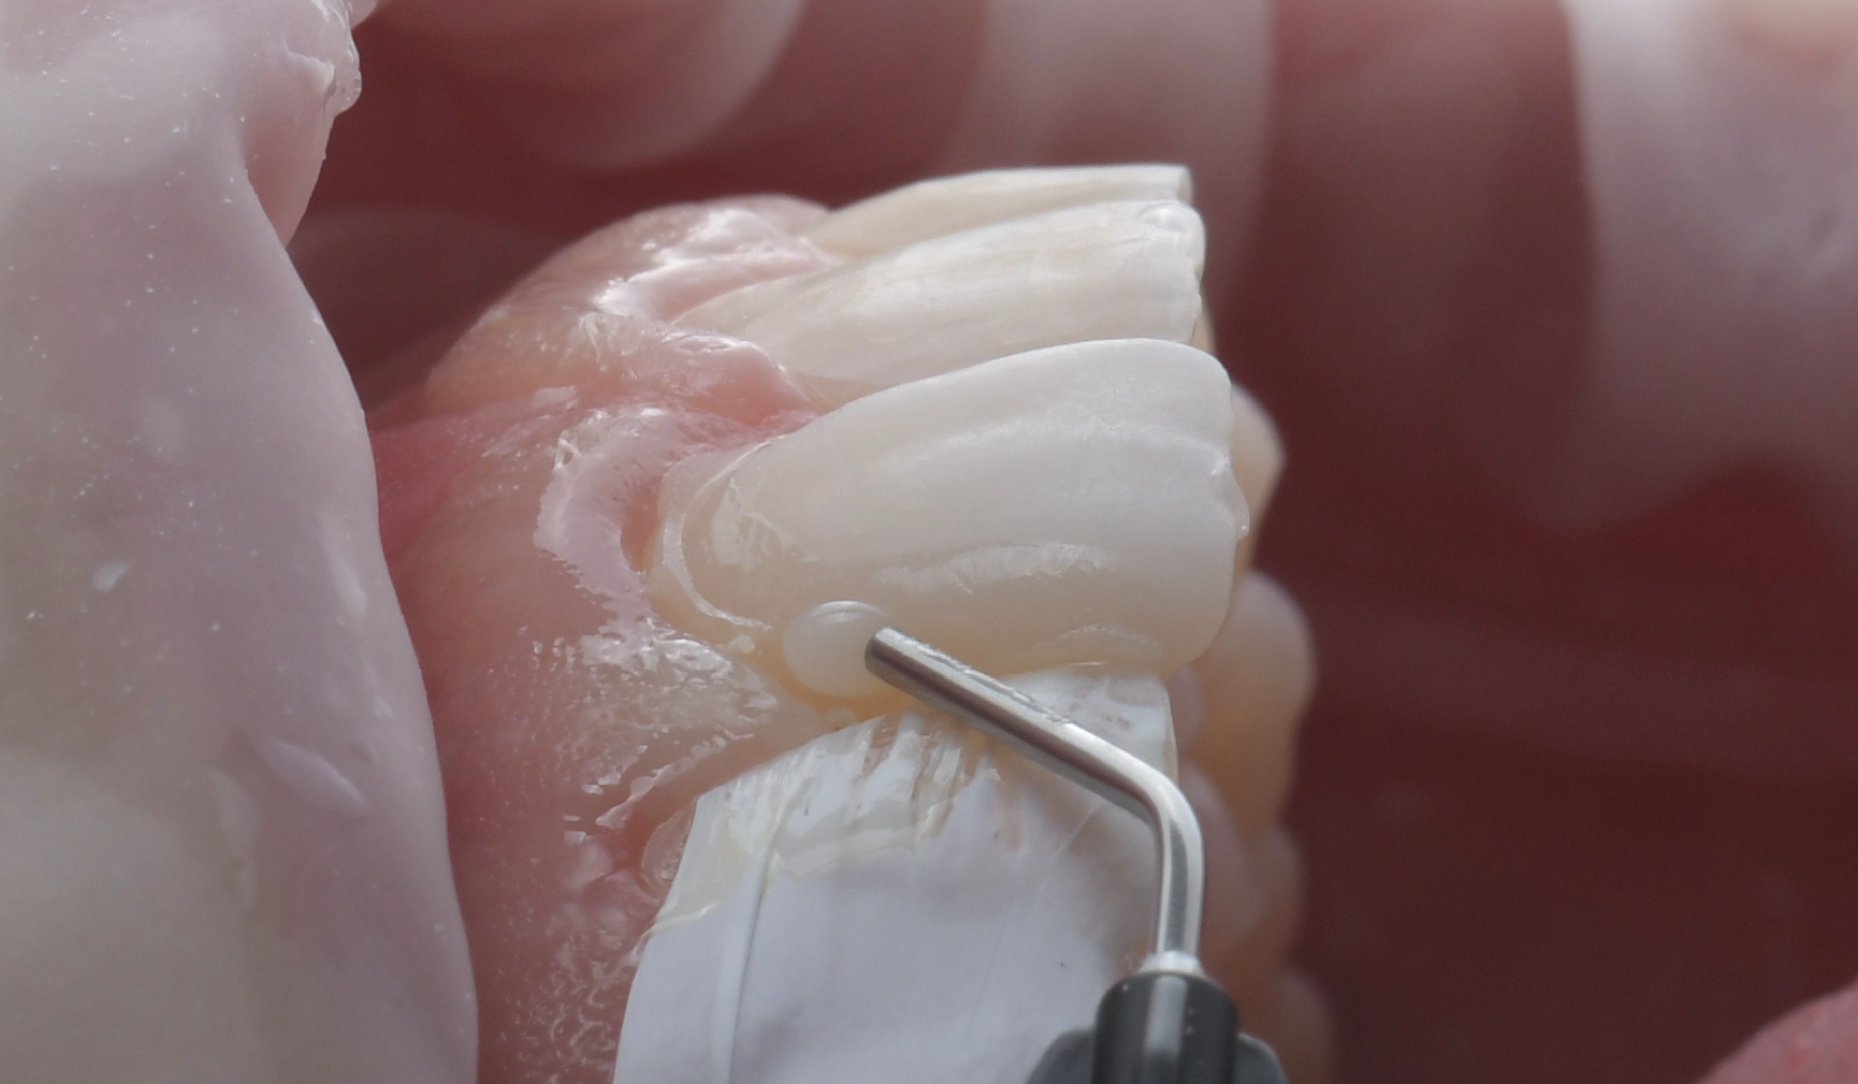
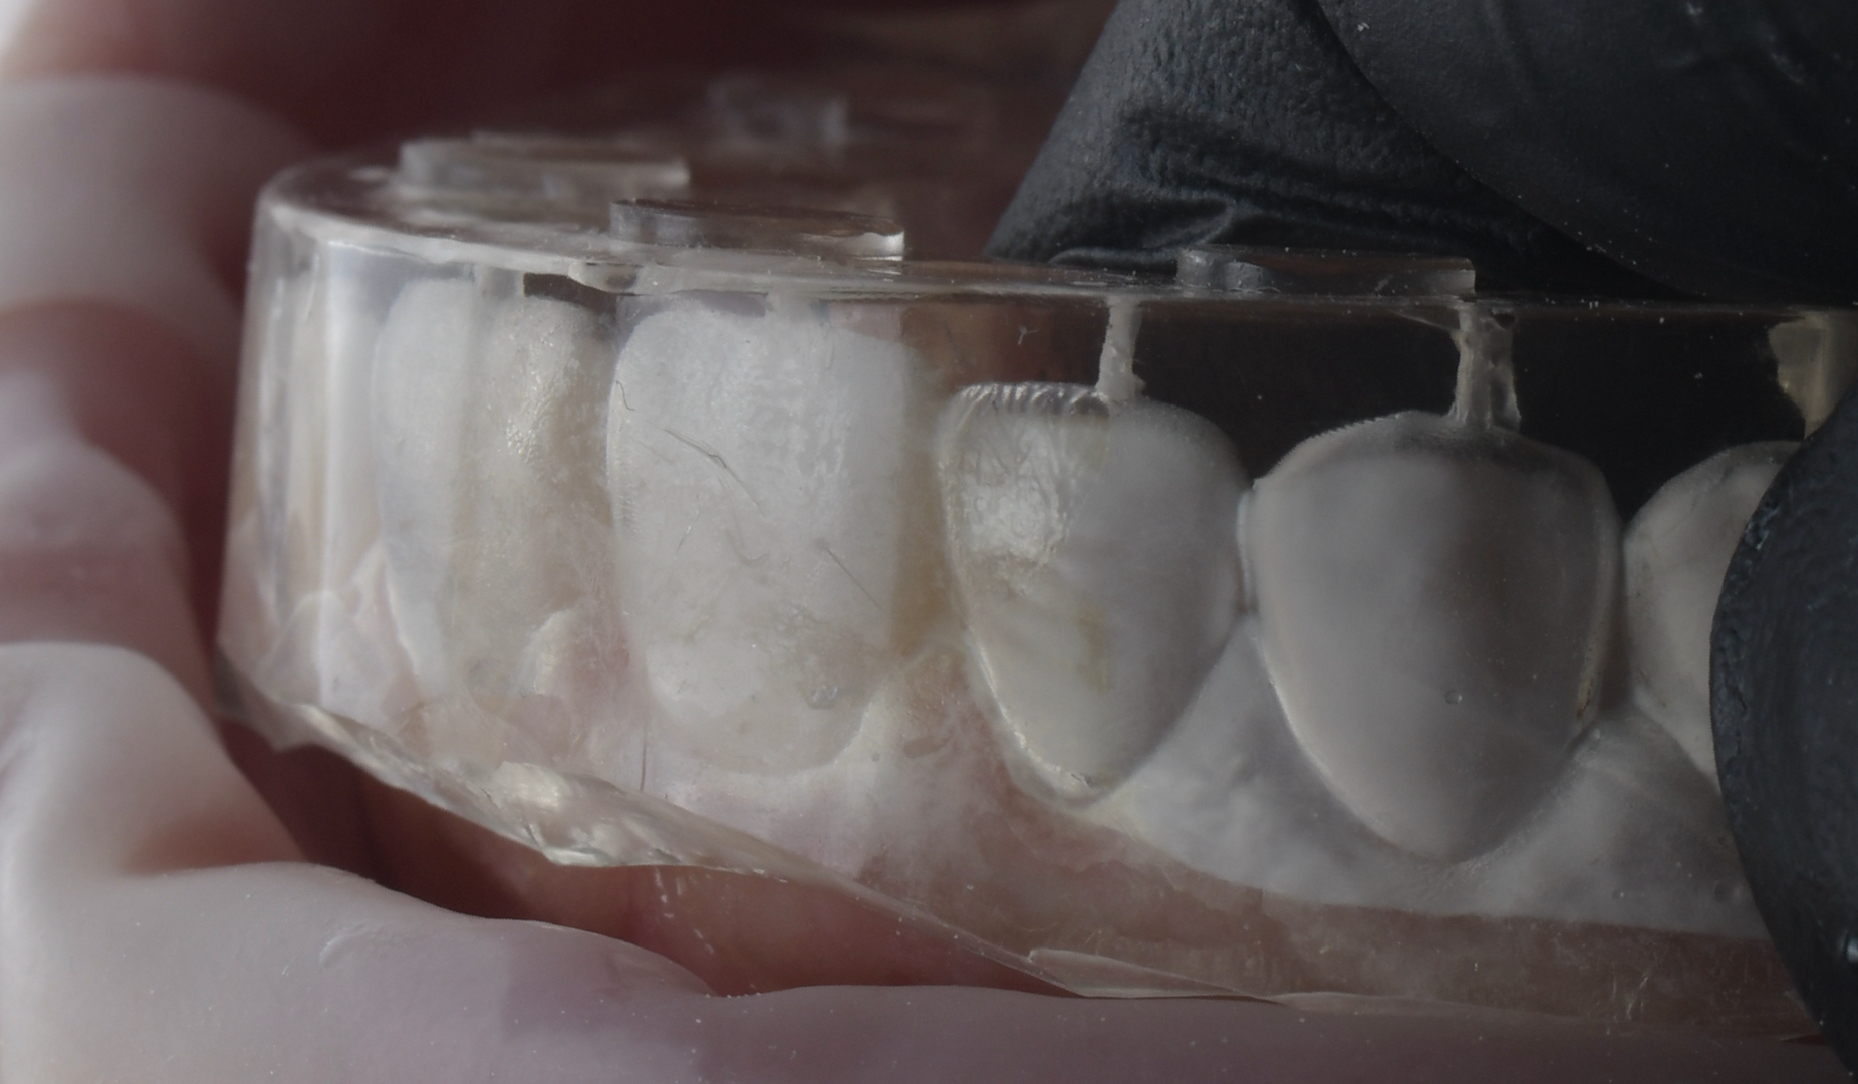
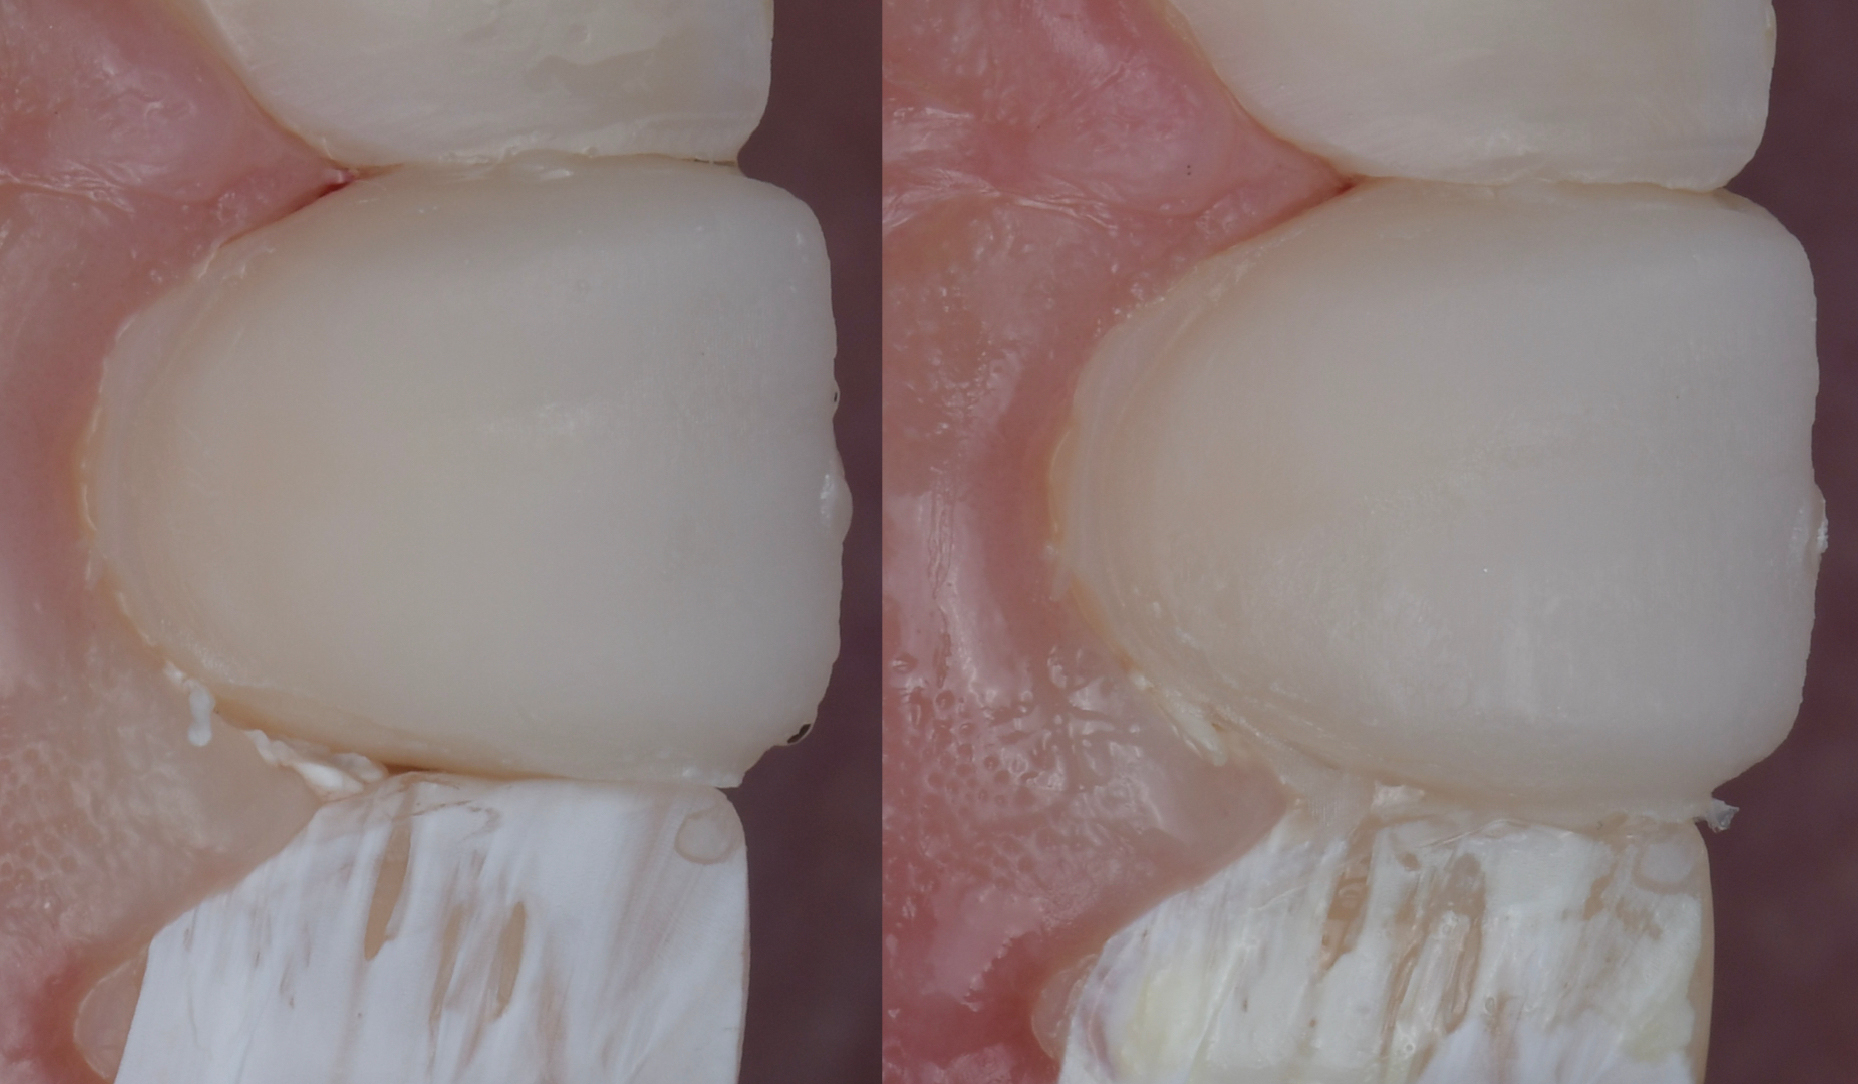
If the defect is small, it is possible to apply the flowable composite directly and remove the excesses (Fig. 10). The obtaining of a natural shape and smooth transition between old and new composite, however, is simplified by the use of a silicone index or matrix (Fig. 11), which might still be present from the original restoration procedure. A possible outcome of this type of repair is shown in Figure 12; both images were taken prior to finishing and polishing.
Conclusion
Elimination of bubbles or defects in a freshly created restoration, changes in the colour of an existing filling or a shape correction due to wear processes: Modifying composite restorations can be easy – provided that appropriate materials and techniques are used. One of the key elements on the path to success is the selection of a suitable adhesive system, preferably a universal single-bottle adhesive like CLEARFIL™ Universal Bond Quick, which allows for streamlined procedures and supports excellent outcomes. By respecting the provided tips, it is possible to create the desired outcomes in a minimally invasive, straightforward way, laying the foundation for long-lasting aesthetics and function.
 By Dr. Michał Jaczewski