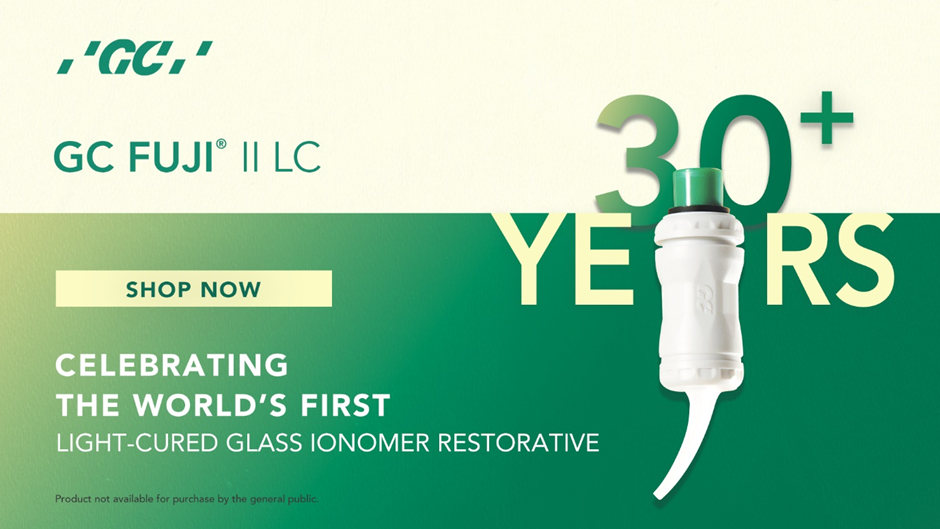
The world's first resin-reinforced glass ionomer has remained the benchmark* for light-cured glass ionomer cements, delivering more than 30 years of exceptional performance to clinicians around the world.
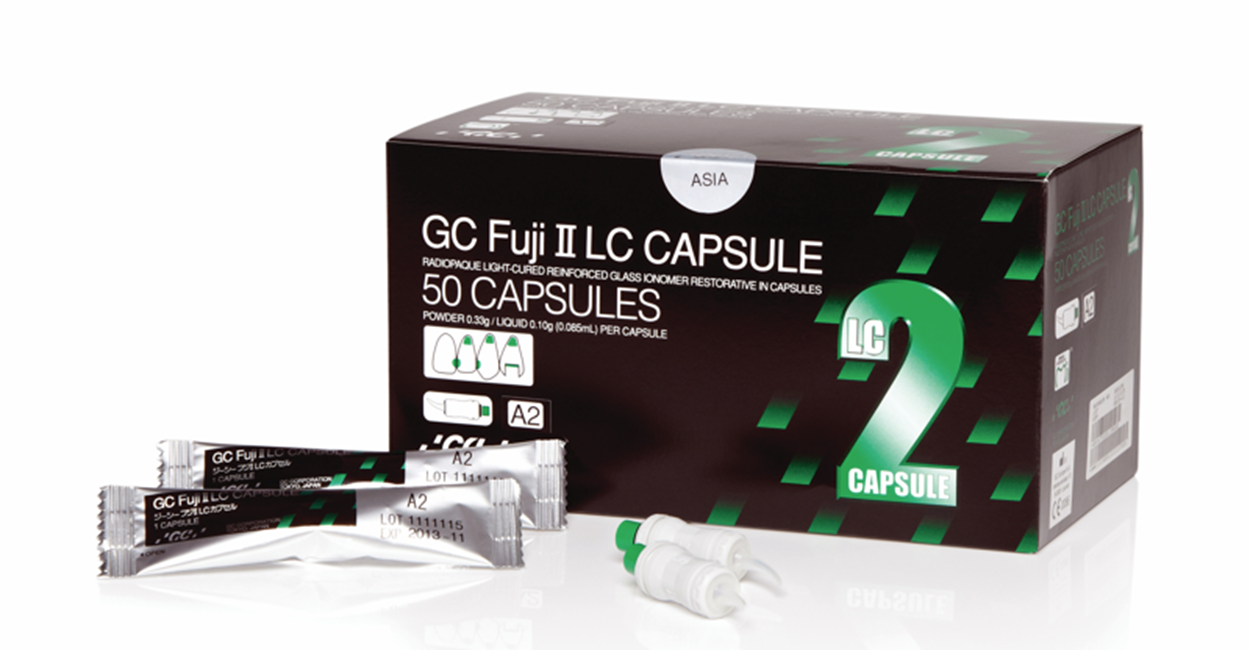
GC Fuji II LC Capsule is a self-adhesive restorative material that is moisture tolerant, simple to use, quick to apply and is ready for final finishing immediately following 20 seconds light curing.
Clinically proven GC Fuji II LC restorative brings you all the advantages of a conventional glass ionomer – plus important advances like dual curing, immediate finishing and outstanding aesthetics. With its simple, time-saving technique, GC Fuji II LC is the ideal solution for Class III & Class V restorations, particularly cervical erosion and root surface restorations. 1, 2
Clinical Applications of Fuji II LC
Restoring carious lesions
Patients with reduced salivary flow are at increased risk of caries. GC Fuji II LC is recommended for the aesthetic restoration of these lesions due to its excellent retention and high level of acid resistance.
Restoring erosion lesions
Patients with acidic oral environments may suffer frequently suffer from cervical sensitivity and subsequent development of erosion lesions. GC Fuji II LC is recommended for the aesthetic restoration of these lesions due to its acid resistance and strong adhesion which provides effective desensitisation. *
Acid resistant
GC Fuji II LC exhibits good acid resistance and is the ideal choice of material for patients with reduced salivary flow and exposure to frequent acid challenges.
Ideal delivery system
GC Fuji II LC has excellent capsule to capsule consistency and ideal access through its long curved fine-tip nozzle.
References
*Clinical evaluation of a resin-modified glass ionomer restorative: Five year results. Boghosian A, Ricker J, McCoy R. J Dent Res 1999; Spec issue 78, abst no 1436.
1 Brackett, et al. 1-year clinical evaluation of Compoglass and Fuji II LC in cervical erosion / abfraction lesions. Am J Dent 1999; 12(3):119-22.
2 Burrow MF, Tyas MJ., Clinical evaluation of three adhesive systems for the restoration of non-carious cervical lesions, Oper Dent. 2007 Jan-Feb;32(1):11-5.